

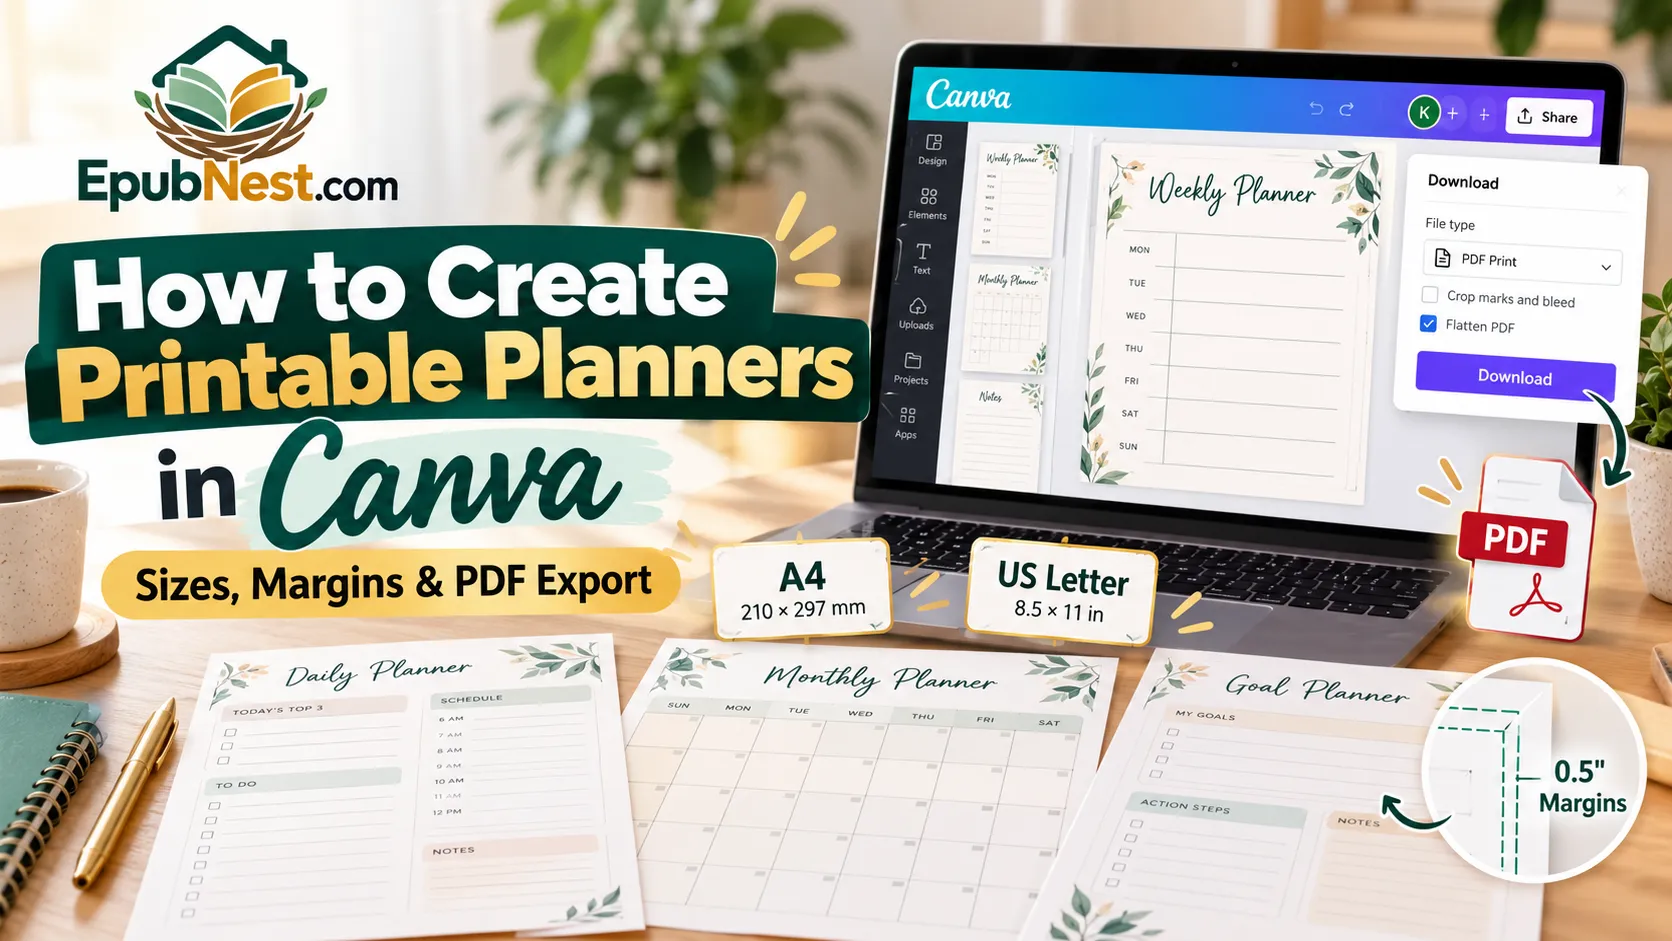
Want to create a beautiful printable planner in Canva but aren’t sure which page size, margins, or PDF export settings to use?
You’re not alone.
Designing a planner is fairly easy. Making sure it prints correctly is where many beginners get confused.
A planner might look perfect on your laptop but come out with cut-off text, tiny writing spaces, unexpected white borders, or incorrectly sized pages.
Quick answer: To create printable planners in Canva, start with the correct paper size, such as US Letter (8.5 × 11 inches) or A4 (210 × 297 mm). Keep important content away from the paper edges, create reusable planner pages, export as PDF Print, and test-print at 100% scale before sharing or selling the file.
In this guide from EpubNest, you’ll learn how to create printable planners in Canva, choose suitable sizes, understand margins and bleed, export high-quality PDFs, and prepare digital product files that customers can actually use.
The steps are beginner-friendly, with practical examples you can follow from start to finish.
What Is a Printable Planner?
A printable planner is a digital file designed to be printed on paper.
Instead of buying a physical planner, someone downloads a file, prints the pages, and uses them to organize their activities.
Common examples include:
- Daily and weekly planners
- Monthly calendars
- Budget and savings planners
- Meal planning sheets
- Habit trackers
- Student study planners
- Business planning workbooks
- Goal-setting and productivity planners
Many printable planners are delivered as PDF files because PDFs preserve the intended page layout and are widely supported by computers and printers.
A printable PDF is different from an interactive digital planner.
A printable planner is primarily intended for paper use. An interactive digital planner may have hyperlinks, tabs, and features designed for tablet-based planning.
You can design both types in Canva, but they require different design decisions.
For this tutorial, we’ll focus on printable planners.
Best Canva Printable Planner Sizes: A4, US Letter, A5 and Half Letter
Choosing the right page size is one of the most important steps.
A planner designed for one paper size may print at the wrong scale when someone uses a different size.
Here are the common options.
| Planner size | Exact dimensions | Best for |
|---|---|---|
| US Letter | 8.5 × 11 inches | Home printing in the US and Canada |
| A4 | 210 × 297 mm | Common printing in many other countries |
| Half Letter | 5.5 × 8.5 inches | Smaller planners and binders |
| A5 | 148 × 210 mm | Compact planners, journals and inserts |
| A6 | 105 × 148 mm | Small note and tracking pages |
Should You Choose A4 or US Letter?
If you are creating a planner for your own printer, use the paper size your printer supports.
If you are creating a digital product for customers in different countries, offering both A4 and US Letter versions can improve convenience.
These sizes are similar, but not identical.
A4 is slightly narrower and taller.
US Letter is slightly wider and shorter.
That difference matters for page borders, tables, writing areas, and printed alignment.
Recommended approach: Design your planner in US Letter, create a separate A4 version, and check both layouts before exporting.
Don’t simply rename a US Letter file as A4.
The physical page dimensions must actually be correct.
What About A5 and Half Letter?
A5 and Half Letter can be useful for smaller ring binders or portable planning systems.
However, don’t assume they are interchangeable.
Their dimensions are different.
Also remember that printing two smaller pages on one larger sheet and cutting them afterward requires a separate print setup.
For beginners, starting with US Letter and A4 is usually easier.
How to Create Printable Planners in Canva: Step-by-Step Workflow
Let’s create a simple weekly planner from scratch.
You can use the same process to create daily planners, budget sheets, study planners, and habit trackers.
Step 1: Create a New Canva Document
Visit Canva and sign in.
From the homepage:
- Click Create a design.
- Choose Custom size.
- Select inches or millimeters.
- Enter your preferred dimensions.
- Click Create new design.
For a US Letter planner, enter:
Width: 8.5 inches
Height: 11 inches
For an A4 planner, enter:
Width: 210 mm
Height: 297 mm
Choose portrait orientation for a traditional planner.
You can also work in landscape orientation if your planner contains wide tables or a monthly calendar.
Use an ordinary page-based Canva design rather than Canva Docs if you need the print margin and bleed controls described in this tutorial.
Step 2: Plan the Pages Before Designing
Decide what the planner should include.
For our example, we’ll create an undated weekly productivity planner.
It will have these pages:
| Page | Content |
|---|---|
| 1 | Cover page |
| 2 | Monthly goals |
| 3 | Weekly overview |
| 4 | Daily priority planner |
| 5 | Habit tracker |
| 6 | Notes and reflection |
A six-page file is enough to practice creating a complete mini planner.
You can later build a larger product using additional variations or repeated reusable pages.
An undated planner also allows the customer to use the pages without being limited to a specific calendar year.
Step 3: Choose Colors and Fonts
A printable planner should be readable and comfortable to use.
Start with two or three consistent colors.
For example:
Dark green: headings
Sage green: labels and small accents
White: writing areas and background
Keep most writing sections light or white.
Large dark backgrounds can consume considerable ink when customers print several pages.
Use simple fonts for labels and small text.
For a basic planner:
- Main title: approximately 22–30 pt
- Section headings: approximately 12–16 pt
- Labels: approximately 10–12 pt
- Small notes: approximately 9–10 pt
These are practical starting sizes, not universal print standards.
Check the actual printed page. If your intended readers have difficulty seeing the labels, use larger text.
Step 4: Build Your Weekly Planner Layout
Start with a heading:
My Weekly Planner
Below it, add a space for:
Week of: __________
Create separate areas for:
- Monday
- Tuesday
- Wednesday
- Thursday
- Friday
- Saturday
- Sunday
Add a smaller section for:
Top 3 Priorities
Then include:
Notes and Reminders
Use lines, rectangles, and text elements to create the layout.
Try to keep the spaces large enough for handwritten notes.
A visually attractive planner that doesn’t leave enough room to write is not very useful.
Step 5: Align Your Elements
Select related elements and use Canva’s alignment and positioning options to create even spacing.
Keep weekly boxes consistent.
For example, each weekday box should use the same padding, text placement, and line style.
Avoid manually guessing the position of every element.
Consistent spacing creates a more professional printable planner.
Step 6: Duplicate Your Design for Other Pages
Once the first layout is complete, duplicate the page.
Reuse the heading style, colors, and spacing.
Then change the content for your next section.
For example:
Habit Tracker
Create a table with habits down the left side and days across the top.
Daily Planner
Add spaces for the date, three priorities, a schedule, and notes.
Monthly Goals
Add sections for goals, milestones, and review notes.
This makes your planner look like one connected product instead of several unrelated worksheets.
How to Create Printable Planners in Canva With Correct Margins
Margins are the empty areas between the edge of a printed page and the important content.
If you place text too close to the paper edge, some printers may cut it off.
A printed page can also look crowded even when nothing is missing.
What Is a Safe Margin for a Printable Planner?
A practical starting point for many home-printable planners is:
0.4 inches (about 10 mm) on the top, bottom, and outer edges.
If the planner will be hole-punched or placed in a binder, reserve more room along the binding edge.
For example:
| Edge | Example margin |
|---|---|
| Top | 0.4 inches |
| Bottom | 0.4 inches |
| Outer side | 0.4 inches |
| Binding side | 0.65 inches |
These are suggested design margins, not fixed Canva requirements. Your printer, punch size, binder, and trimming requirements may require different measurements.
How to Turn On Margins in Canva
Inside your Canva design:
- Open File.
- Choose Settings.
- Click Show margins.
- Look for the margin guides on the page.
- Keep important content inside the recommended safe area.
In some Canva editor versions, these options appear under File → Rulers and guides.
One important detail: Canva’s built-in margin display does not let you automatically set any custom margin value you want.
For a specific 0.4-inch or 0.65-inch margin, use rulers and manually positioned guides where available.
According to Canva’s official help documentation, margin and bleed settings are based on its print specifications.
Printable Planner Margin Example
Imagine you are designing a US Letter page:
Page width: 8.5 inches
You reserve:
- 0.65 inches for binding
- 0.4 inches on the opposite side
The remaining width is:
8.5 − 0.65 − 0.4 = 7.45 inches
This gives you approximately 7.45 inches of usable horizontal content space.
You don’t need to fill every part of that area.
Leave breathing room between boxes, labels, and writing sections.
What If the Customer Uses a Ring Binder?
Make a separate binder-friendly version if necessary.
For single-sided pages, a larger left margin may work.
For a double-sided planner, the inner binding margin switches sides on alternating pages.
That means page one may need more space on the left, while page two needs more space on the right.
Check the actual binder and hole-punch requirements rather than assuming the same layout works for every printing method.
Understand Bleed, Trim and Safe Areas in Canva
Many beginners confuse margins with bleed.
They serve different purposes.
| Term | Meaning |
|---|---|
| Safe margin | Space protecting important text and writing areas |
| Trim line | Where a printed sheet is intended to be cut |
| Bleed | Extra background artwork beyond the trim line |
| Crop marks | Marks showing where to cut the printed sheet |
Do Printable Planners Need Bleed?
Not always.
If your planner has a white background and customers will print it on standard home paper without cutting the edges, you normally don’t need a bleed-enabled customer PDF.
For example, a simple weekly planner with black text, gray lines, and generous white margins can be exported for home printing without crop marks.
But if your planner contains a colored background that must continue to the very edge of a professionally trimmed page, bleed may be necessary.
Canva’s standard print bleed is approximately:
0.125 inches (3.175 mm) on each side.
Always check the print provider’s requirements before preparing a professional print file.
How to Show Print Bleed in Canva
Open your design.
Choose:
File → Settings → Show print bleed
Or look under:
File → Rulers and guides
If your design needs edge-to-edge printing, extend background colors and artwork into the bleed area.
Do not place headings, page numbers, or important instructions in the bleed.
That outer area is intended to be removed during trimming.
Why Does My Printable Have White Borders?
White borders can happen for several reasons.
Your printer may not support borderless printing.
The design may not extend into the bleed area.
The print settings may shrink the page.
Or the customer may be using the wrong paper size.
Important: Adding bleed does not make an ordinary home printer capable of borderless printing.
If customers use standard printers, a planner designed with intentional white margins is often easier to print successfully.
How to Export Printable Planners From Canva as PDF
After finishing your design, prepare the downloadable files.
For this type of product, Canva provides two important PDF choices.
PDF Standard vs. PDF Print
| Feature | PDF Standard | PDF Print |
|---|---|---|
| Primary use | Digital sharing and viewing | High-quality printing |
| Export resolution | Standard, approximately 96 dpi | Print-focused, up to 300 dpi |
| Crop marks and bleed | Not the main option | Supported |
| Best for | On-screen copies | Printable planner files |
For a customer who wants to print the planner, PDF Print is the preferred starting format.
However, exporting at print quality cannot repair low-resolution photographs or blurry source graphics.
Always check your original assets.
Step-by-Step PDF Print Export
- Open the completed planner in Canva.
- Click Share.
- Select Download.
- Under File type, choose PDF Print.
- Confirm the correct pages are selected.
- Leave Crop marks and bleed unchecked for a normal home-printing PDF that does not need trimming.
- If using a professional print provider that requires trimming, select the necessary bleed and crop-mark options.
- Choose suitable color settings if available.
- Download the PDF.
For ordinary home-printable worksheets, you can generally leave the document in a broadly compatible color profile. A commercial printer may request CMYK.
Colors can look different between a screen and a printed page.
The correct choice depends on how the file will be printed.
Should You Flatten Your PDF?
Canva offers a PDF flattening option.
Flattening can simplify how complex visual elements are stored in the exported document.
But it can also affect future editability, selectable text, or interactive features.
For a simple printable worksheet, flattening may be useful when needed for compatibility.
It is not automatically required for every planner.
Keep the original Canva design so you can make edits later.
How to Test a Printable Planner Before Selling It
Never assume a PDF is ready simply because it looks correct in Canva.
Open the downloaded file independently.
Use a PDF reader or browser.
Check the page count and actual dimensions.
Then print a sample.
The 100% Print Test
Open the PDF print dialog.
Check the paper size.
Choose Actual Size or 100% Scale when you need to verify the planner’s exact dimensions.
Avoid automatically using “Fit to Page” for this test because it may shrink the design.
Print at least:
- The cover page
- One table-heavy page
- One page with small text
- One page with the most detailed layout
Check whether the content is readable.
Make sure the outer edges are not cut off.
Confirm that the writing sections are large enough.
If the planner is designed for a binder, place the printed paper into the intended binder or test its hole-punch clearance.
Test Both A4 and US Letter
If your digital product includes both sizes, print and inspect both versions.
Do not test only US Letter and assume the A4 version is identical.
A4’s different proportions can affect table spacing, titles, and bottom margins.
If customers will print double-sided, test that workflow as well.
Worked Example: Creating a Six-Page Weekly Planner in Canva
Let’s put the process together.
Project Specifications
Product: Undated Weekly Productivity Planner
Target audience: Students, professionals, and people organizing personal tasks.
File sizes: A4 and US Letter
File type: Printable PDF
Page count: Six unique reusable pages per size
Design: Simple green headings, light gray tables, and white writing areas
Build the First Version
Start with a US Letter portrait document.
Create the six planner pages.
Keep ordinary text at least 0.4 inches from the top, bottom, and outer edges.
Use a larger inner margin if the planner is intended for binding.
Duplicate and customize the page layouts as needed.
Once the entire planner is finished, create a separate A4-sized version using Canva’s available resizing tools or a new A4 document.
Manually check text wrapping and page spacing.
Export Your Customer Files
Download the US Letter design as PDF Print.
Name it:
Weekly_Planner_US_Letter.pdf
Download the A4 version as PDF Print.
Name it:
Weekly_Planner_A4.pdf
Create a small instruction PDF explaining which file to select and how to print it.
Name it:
Printing_Instructions.pdf
Now the customer can easily identify the correct file.
A clear file structure reduces confusion and support requests.
How to Package Printable Planners as a Digital Product
If your goal is to sell the planner rather than use it personally, presentation matters.
Your buyer should know what is included before purchasing.
A useful digital product package might include:
| File | Purpose |
|---|---|
| Weekly_Planner_US_Letter.pdf | US Letter printable |
| Weekly_Planner_A4.pdf | A4 printable |
| Printing_Instructions.pdf | Customer printing guidance |
| Optional cover image | Product preview, where relevant |
You can also include a separate ink-saving version if your planner has colorful backgrounds.
For example:
Color Edition
Uses muted green headings and decorative elements.
Ink-Friendly Edition
Uses mostly black text and light gray lines.
Both should remain easy to read.
Create a Helpful Customer Instruction Page
Your instruction PDF can say:
“Thank you for your purchase.
This download contains printable planner files in US Letter and A4 sizes.
Choose the file matching your printer paper.
Open the PDF, select the correct paper size, and print at 100% or Actual Size for accurate dimensions.
This is a digital printable product. No physical planner will be shipped.”
You can also mention that printed colors may vary by printer, paper, ink, and screen.
Can You Sell Printable Planners Made in Canva?
Yes, Canva can be used to create original digital products for sale, subject to its licensing terms.
However, using Canva doesn’t automatically give you permission to resell every element or template in any form.
Canva’s official commercial-use guidance says that original designs can be sold under applicable conditions, but standalone Canva content cannot simply be redistributed as a product.
A finished printable PDF and an editable Canva template are also different kinds of products.
If you are offering editable Canva templates, check the additional template-sharing and Pro-content licensing restrictions before publishing.
Do not simply take someone else’s Canva design, export it, and sell it as your own original product.
Read Canva’s official guidance on creating products for sale and the relevant license agreement.
How to Sell Printable Planners on Etsy
Once your files are ready, you can create a digital product listing.
In Etsy Shop Manager, create a new listing and choose the appropriate digital product type.
Upload the final downloadable files.
Etsy currently allows up to five downloadable files for an instant-download listing, with a maximum of 20 MB per file.
Check the file sizes before uploading.
If a product needs more files than the platform allows, you may need to reorganize your package into an appropriate supported format.
Write an Accurate Etsy Product Title
A suitable example for our sample planner is:
Undated Weekly Planner PDF: A4 & US Letter Printable
This title communicates:
- The product type
- The fact that it’s undated
- The PDF format
- The available paper sizes
Avoid calling a printable PDF an editable Canva template unless you are actually providing an authorized, functioning editable template.
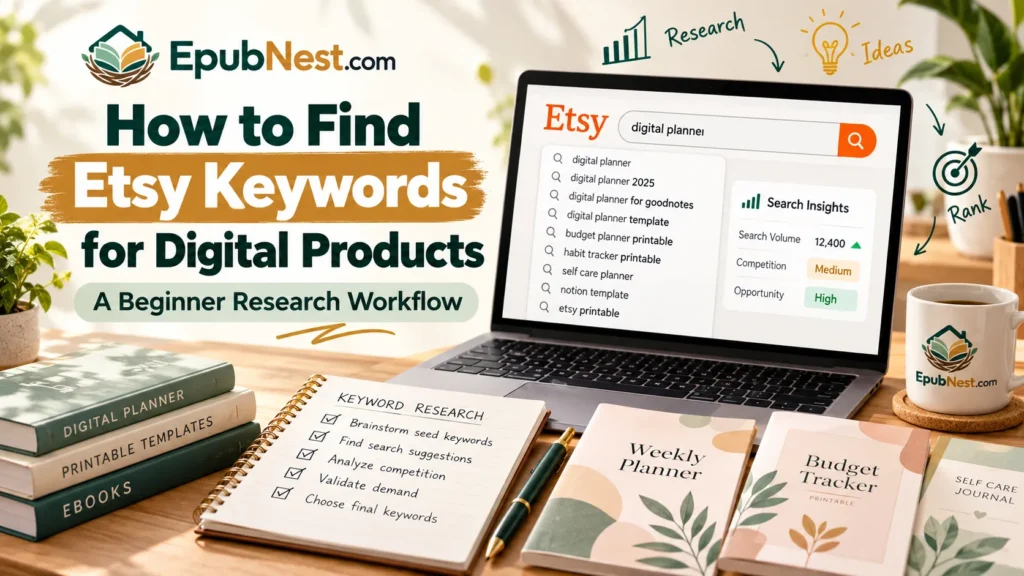
How to Find Etsy Keywords for Digital Products Like Printable Planners
Before writing your tags, research what shoppers are searching for.
Start with Etsy autocomplete and relevant competing listings.
Look for phrases such as:
- Printable weekly planner
- Undated weekly planner
- Weekly planner PDF
- A4 weekly planner
- Weekly schedule printable
- Weekly goal planner
These are keyword research ideas, not verified search-volume results.
This is where understanding how to find Etsy keywords for digital products becomes useful.
Choose phrases that describe your actual product instead of adding unrelated popular terms.
For more information, visit the EpubNest Blog, where digital product sellers can explore Etsy marketing, product delivery, and pricing guidance.
Include Clear Listing Images
Show the actual pages in your product preview images.
Useful images might include:
- Planner cover
- Full weekly layout
- Daily planning page
- Habit tracker
- Included page overview
- A4 and US Letter availability
- Printable file information
Do not advertise mockup pages that the customer will not receive.
Set a Sustainable Digital Product Price
Remember that digital products still have costs.
These may include your design time, licensed assets, software, Etsy fees, marketing, and customer support.
For a detailed pricing workflow with actual fee models, read EpubNest’s How to Price Digital Downloads on Etsy.
Common Canva Printable Planner Problems and Fixes
Even a well-designed planner can have technical issues.
Use this troubleshooting table before publishing.
| Problem | Likely reason | What to do |
|---|---|---|
| Text gets cut off | Margins too small | Move important content inward |
| PDF prints too small | Scaling or paper mismatch | Match the paper size and test at 100% |
| White edges appear | Printer limitations or bleed setup | Use intentional margins or appropriate print finishing |
| Images look blurry | Low-resolution source images | Replace with suitable high-quality assets |
| Text is hard to read | Small fonts or weak contrast | Enlarge text and improve contrast |
| PDF is too large | Heavy images or many pages | Optimize assets and export only needed pages |
| Binder holes cover text | No binding allowance | Increase inner margin |
| A4 layout looks different | Resizing changed proportions | Review the A4 version manually |
| Colors look different | Screen vs. print color differences | Print a sample and adjust |
| Customer cannot edit text | Product is a static printable PDF | Describe editability accurately |
Why Does My Canva PDF Print Differently From the Preview?
A PDF preview shows the file on screen.
The printer has its own paper settings, scaling options, margins, and color behavior.
Always check these settings before assuming there is a problem with the Canva file itself.
Why Are My Planner Boxes Too Small?
This usually happens when a designer focuses on fitting everything onto one page.
Try reducing the number of sections.
Create a separate notes page instead of squeezing a large notes area into an already crowded layout.
A useful printable needs room for handwriting.
Why Is My Printable Planner File Too Large?
Large images, complex backgrounds, and many pages can increase PDF file size.
Use appropriate source images and remove unnecessary decorative assets.
Canva’s PDF compression options may be available on eligible plans, but image quality can be reduced.
Test the compressed file before distributing it.
Printable Planner Design Checklist
Before exporting, review these essentials.
| Check | What to confirm |
|---|---|
| Paper size | Exact A4, US Letter, or other intended dimensions |
| Page orientation | Correct portrait or landscape |
| Margins | Important content safely inside edges |
| Binding | Extra space reserved if needed |
| Bleed | Included only where the print workflow requires it |
| Text | Clear and readable at actual print size |
| Writing space | Enough room to write by hand |
| Colors | Readable and suitable for printing |
| Layout | Consistent across pages |
| PDF export | Appropriate PDF Print settings |
| Testing | Actual-size printed sample inspected |
| Delivery files | Correct names, sizes, and instructions |
How to Create Printable Planners in Canva: Final File Check
Ask yourself these questions:
Can the customer print this on their paper size without guessing?
Are all page headings and writing areas visible?
Will binder holes cover important information?
Have I checked the PDF outside Canva?
Have I tested the layout at its intended print size?
Does the product description accurately explain what the buyer receives?
If the answer to every question is yes, your printable is in a much stronger position for delivery.
Frequently Asked Questions About Creating Printable Planners in Canva
Can I create printable planners in Canva for free?
Yes. Canva provides free design features that you can use to create planner pages. Some templates, graphics, and features require paid access. Check the licensing conditions of the assets you select.
What is the best size for a printable planner?
US Letter (8.5 × 11 inches) and A4 (210 × 297 mm) are practical options for standard home printing. A5 and Half Letter are useful for smaller planners and binders.
How do I create a printable planner in Canva?
Create a document at the intended paper size, add planner sections using text and shapes, keep content inside safe margins, download a PDF Print file, and test it at actual size.
How much margin should I leave on printable planner pages?
About 0.4 inches or 10 mm is a useful starting point for many planner pages. Binding edges may need more room. Adjust the measurements to suit the printer and finishing method.
Does Canva automatically add the correct margins?
Canva can display its built-in margin guides, but you cannot freely change their measurement. For specific custom margins, plan the layout using manually positioned guides.
What is bleed in Canva?
Bleed is additional background artwork beyond the intended trim edge. It helps avoid unintended white edges after professional trimming. Canva commonly uses a fixed bleed of about 0.125 inches.
Do printable planners need bleed?
Not usually for simple, untrimmed home-printing PDFs with white margins. Professionally trimmed, edge-to-edge designs may require bleed and crop marks.
Should I export my Canva planner as PDF Standard or PDF Print?
Choose PDF Print for high-quality printable files. PDF Standard is more suited to ordinary digital viewing and sharing.
Why is my Canva planner printing smaller than expected?
Your printer may be scaling the PDF, or its selected paper size may not match the file. Check the paper size and use Actual Size or 100% when testing exact dimensions.
How do I make my Canva planner printable in A4 and US Letter?
Create separate documents at the correct dimensions. Review and adjust each layout, then export each version as a properly named PDF.
Can I sell printable planners created in Canva on Etsy?
Yes, if the product is your original design and your use of Canva content complies with the applicable licenses. An editable Canva template may have different requirements from a finished printable PDF.
What should I include when selling a printable planner?
Include the correct PDF files, clearly described page sizes, useful previews, and simple printing instructions. If the customer is receiving a static printable, don’t describe it as an editable template.
Is a PDF printable planner the same as a digital planner?
No. Printable planners are mainly designed for paper. Interactive digital planners may include linked tabs and navigation for use in compatible digital apps.
Can customers print the same planner page multiple times?
Technically, yes. A reusable printable can be printed repeatedly. The permitted use of a purchased file should still follow the license supplied with the product.
Final Thoughts: Make Your Canva Planner Easy to Print and Use
Creating a printable planner in Canva is about more than choosing attractive fonts and colors.
The page size must be correct.
The margins need to protect important content.
The layout should provide enough writing space.
And the final PDF must be tested before anyone relies on it.
Start with a simple planner, such as a weekly organizer or habit tracker.
Create a clean layout, prepare A4 and US Letter versions where useful, and export high-quality PDF files.
Then make the download experience easy for your audience.
At EpubNest, we share practical ebooks and digital resources designed to help creators and beginners build useful skills.
Explore our Canva template delivery guide if you’re also working with editable products, or visit the EpubNest Shop for more resources on digital product creation and online business.
The best printable planner is one that looks good, prints correctly, and is genuinely useful after the download.
Technical References


Discussion
Join the conversation